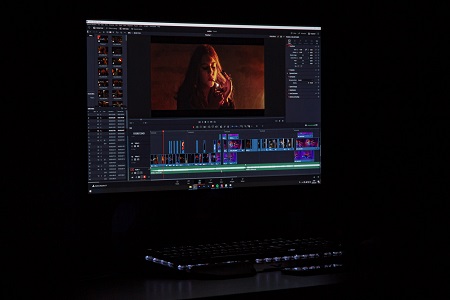
video editing solution | Gotta love Blackmagic Design’s proprietary editing software DaVinci Resolve. It’s an industry-grade A-Z video editing solution that packs a ton of features, has the most powerful color grading and correcting suite, and is completely free, for Pete’s sake! But —
and I feel a deep shame to be looking a gift horse in the mouth — so much horsepower does come at a different kind of price. It can quickly overload and slow down your system. You are probably reading this while you’re waiting for the buffering wheel to stop spinning… So read on.
Edit At Low Resolution
Luckily, you don’t have to invoke your next-door neighbor’s geeky son to break your system into pieces. The good people at Blackmagic Design included quite a few settings directly into DaVinci resolve that are easy to customize and that will help you maximize its performance.
The first thing you can do to speed up your workflow is to lower the resolution of your project to 1080p or 720p before you start working. See, this setting won’t affect your output. It’s just for the editing process. You edit at low resolutions and when you are ready to export, you bump up the quality back to full resolution (or whatever your project requires) at rendering. You can also change your project resolution from the shortcut in the top right corner of the viewer.
Render In Place
Clips that had a lot of work done to them or are packed with effects often cause a buffering point that clogs playback. Going back and forth throughout the project, these points can really slow down your workflow. You can perform a one-time rendering of such a clip, which will replace that clip with a rendered version that won’t hamper playback. The advantage here is that you don’t have to waste time rendering your entire project to speed up the playback of a single clip.
Right-click on the video clip you wish to render and select “Render in Place”. It’s that simple and it’s reversible if you need to get back into the clip to make some changes. Just right-click the clip again and select “Decompose to Original.”
Work With Proxy Media in Your Timeline
The third and last method we’ll discuss to increase the performance of DaVinci Resolve is the use of proxy media. You were probably doing this already, even when working with Final Cut Pro X or any other NLE. If you weren’t, then get on board.
By using proxy media in your timeline, DaVinci Resole leaves the original footage in its place and uses lightweight copies instead, which it will replace again with the full-quality footage at final rendering. Click Playback in the top menu to select and activate Timeline Proxy Mode. You can set the mode to half resolution or quarter resolution, according to your needs. If you are working on a station with very limited power, you could consider combining the timeline proxy mode with the resolution hack we discussed in the first section.
That’s it. These three methods should optimize your playback and rendering considerably. No need to waste more of your time. But if you really want to dig further, you may want to look into Optimized Media, Performance Mode, and more ways to customize Playback settings and Caching.


